Overview
The Suppression section on DataZapp provides a robust mechanism to avoid redundant purchases by excluding specific mailing addresses, phone numbers, or emails from your previous orders and adding to this you can also suppress your files from other source. This feature ensures that you do not pay for the same data multiple times, optimizing your data acquisition process.
Before You need to start
- Sign Up
- Register: For new users, register for a free account at DataZapp’s registration page.
- Login: If you already have an account, simply sign in.
- Login to Your DataZapp Account:
- Access the DataZapp platform by logging in with your credentials.
Suppression Steps:-
(1) Prepare Your Suppression List:
Gather and compile your suppression list(s). This can include:
- Data from previous orders.
- Data bought from other sources.
- Do-not-call lists.
- Opt-out lists.
Ensure the suppression list is in the correct format as required by DataZapp (e.g., CSV, Excel).
(2) Navigate to the Suppression Upload Option:


- Locate the option to upload suppression lists within the DataZapp interface.
- From the Left Side Menu:
- On the left side of the interface, scroll down to the bottom.
- Find and click on the General tab.
- Look for the My Suppression List Upload option within this tab
- From the Top Menu:
- At the top of the interface, locate the main menu.
- Find and click on the My Suppression tab.
- This should take you to the section where you can manage and upload suppression lists.
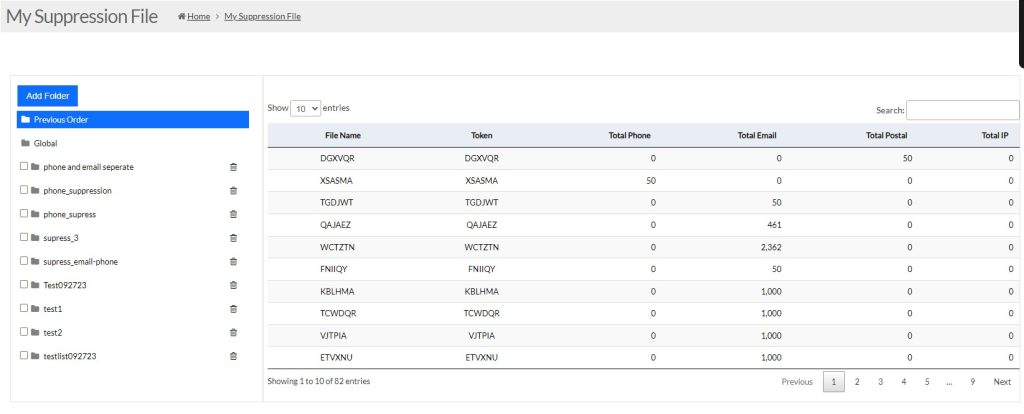
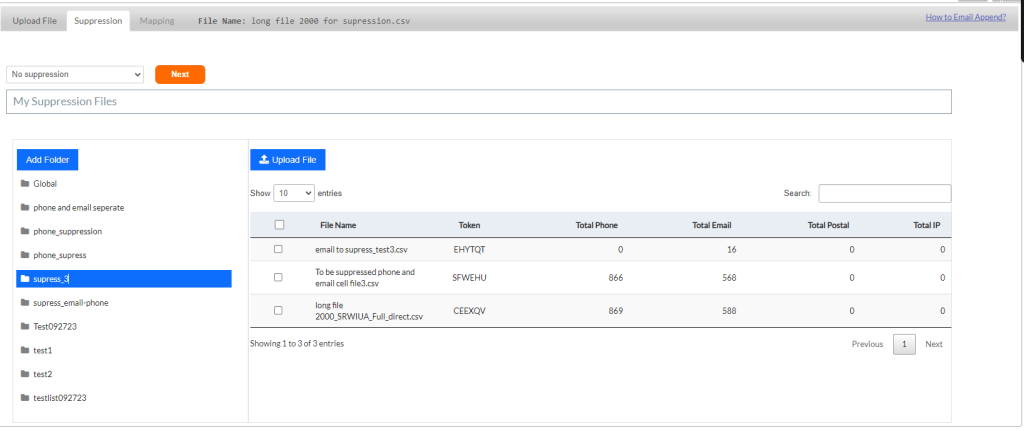
(3) Upload Your Suppression files:
In the My Suppression tab, you will see the interface below where you can create a folder and upload your files to be suppressed.
- Follow the prompts to upload your suppression file.
- Make sure the file is in the correct format (e.g., CSV, Excel) and that you map the fields appropriately if required.
– Create Your folder
- By clicking ‘Add folder,’ you can create and upload files there for suppression

- After that, you will see an interface where you need to enter a folder name and click on the ‘Add’ button.
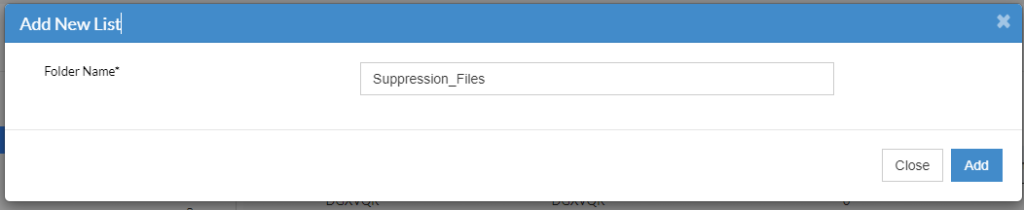
A successful message will prompt saying “Folder added successfully”.
Add your Suppression Files:-
- By clicking on the ‘Upload File’ button, select the folder you have created to upload your file.
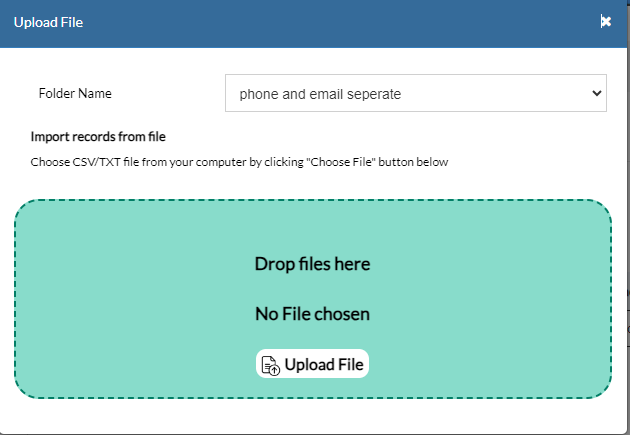
- After selecting the folder , upload your file in the correct format required by DataZapp. Then upload your file in the file drop box..
- Select the file type like for phone suppression or email suppression or postal suppression
- File type ensure that uploaded file is to be used for phone suppression or email suppression or for postal.

- Then map the required fields for suppression
- After mapping, click on the submit button. Your file has been uploaded successfully.
(4) Set Suppression Criteria Based on Campaign Type:
- Specify the type of campaign you are running (e.g., Mailing List + Phone campaign, email campaign).
- For Mailing List + Phone campaigns, ensure phone numbers are set for suppression.
- For email campaigns, ensure emails are set for suppression.
(5) Suppression During Other Operations:
- Suppression can be done while running a count.
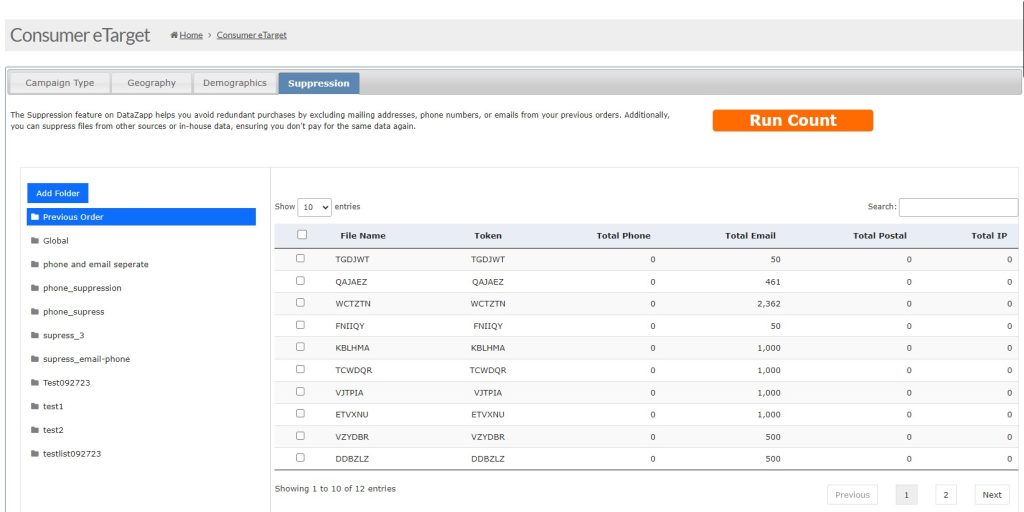
While performing a count under the Suppression tab, you can upload your file, use a file you have already uploaded to your suppression folder, or select any previous order file to be suppressed as shown in above image.
- Suppression can also be done during any append data operation.
During the Append Data process, you can select a file you want to suppress under the Suppression tab shown in the image above.
(6) Apply Suppression to Your Campaign:
- When setting up a new campaign, apply the suppression criteria to exclude the unwanted records from your campaign list.
- Verify that the suppression list has been correctly applied to prevent duplication.
- The suppression mechanism is tailored to the type of campaign you are running:
- For Mailing List + Phone campaigns, only phone numbers are utilized for suppression.
- For Email campaigns, only emails are utilized for suppression.
By following these steps, you can ensure that your campaigns are efficient and avoid any unnecessary costs or compliance issues related to contacting individuals who have opted out or are on do-not-call lists.